How to Make Reaper Look Like Pro Tools Full Guide

Introduction
Pro Tools has long held the title of the industry standard digital audio workstation (DAW) for recording studios, post-production houses, and professional mix engineers. However, its recurring subscription model often presents a financial barrier for independent producers and freelance audio engineers.
On the other end of the spectrum is Cockos Reaper, an incredibly powerful, CPU-efficient, and affordable DAW. Out of the box, Reaper features a highly utilitarian graphical user interface that many find uninspiring or difficult to navigate. Fortunately, Reaper’s open-source architecture allows for total customization. This guide details exactly how to make Reaper look like Pro Tools, allowing producers to combine the legendary workflow of the industry standard with the financial freedom and CPU efficiency of Reaper.
Key Takeaways of the Article
- Reaper’s visual interface and keyboard shortcuts can be completely overhauled to mimic industry-standard DAWs.
- Installing a Pro Tools theme for Reaper requires downloading a specific archive file and dragging it into the workspace.
- Visuals are only half the battle; importing a custom keymap file is essential for translating muscle memory.
- Transitioning saves engineers thousands of dollars in subscription fees while maintaining a familiar mixing environment.
Direct Answer
To make Reaper look like Pro Tools, you must download a custom .ReaperThemeZip file from the Reaper Stash community forum and drag it directly into the open Reaper application. To complete the transformation, the user must also import a custom .ReaperKeyMap file through the Actions menu to override the default shortcuts, ensuring the software not only looks but functions exactly like the familiar Pro Tools environment.
Step 1: Download the Best Pro Tools Theme for Reaper
The first step in the transformation process involves sourcing the correct visual modification files. Because Cockos encourages community development, developers constantly release the best Reaper themes on the official Reaper Stash repository.
To find the most accurate Reaper Pro Tools skin, the user should navigate to the Reaper Stash website and search for the “Pro Tools 12.5 Theme by Albert” (or its most recent updated equivalent). This specific theme is highly regarded by the audio community for its pixel-perfect recreation of the Avid interface, including the iconic dark gray track headers, the green playhead indicators, and the exact fader cap designs used in professional studios.
Step 2: How to Install the Custom Theme (Visuals)
Installing the downloaded theme is a straightforward process that does not require complex system directory navigation. Follow these exact technical steps to apply the visual modification:
- Locate the downloaded file on the computer. It must have the exact extension .ReaperThemeZip.
- Launch the Reaper application.
- Click and drag the .ReaperThemeZip file directly from the system file explorer into the main Reaper workspace (the track arrangement area).
- Reaper will briefly pause and automatically unpack the visual assets.
- To verify the installation or switch between themes, navigate to the top menu bar: Options -> Themes and select the newly installed Pro Tools theme.
[Image Placeholder: A screenshot showing the drag-and-drop action of the .ReaperThemeZip file into the Reaper arrangement window.]
Step 3: Import Pro Tools Keyboard Shortcuts (Crucial!)
While establishing a Pro Tools theme for Reaper creates a familiar visual environment, audio engineering relies heavily on muscle memory. If the visual layout matches Pro Tools but the hotkeys do not, the user’s workflow will be severely hindered. For instance, in a default Reaper installation, pressing the S key splits an audio item. However, in the standard Pro Tools configuration, the key to separate a clip is B (when Keyboard Focus is enabled).
To rectify this, producers must install Pro Tools shortcuts for Reaper.
- Download a Pro Tools Keymap file (often provided by the same developers who create the visual themes). This file will have the .ReaperKeyMap extension.
- In Reaper, navigate to the top menu and click Actions -> Show action list… (or press ? on the keyboard).
- In the Action List window, locate the Key map button at the bottom right.
- Click Key map -> Import shortcut key map…
- Select the downloaded .ReaperKeyMap file.
Once imported, Reaper will instantly respond to standard Avid commands, such as using R and T for zooming, or Command + E (Mac) / Ctrl + E (Windows) for separating clips.
Step 4: Adjusting the Track Control Panel (TCP) and Mixer
The default layout of Reaper often places the mixing console at the bottom of the arrangement screen. Pro Tools users are accustomed to toggling between two distinct, full-screen windows: the Edit Window and the Mix Window.
To replicate this dual-window workflow:
- Navigate to View -> Mixer to ensure the mixer is visible.
- Right-click anywhere on the dark gray background of the Mixer tab.
- Deselect the option labeled Dock Mixer in Docker.
- The mixer will now break out into a separate, free-floating window.
- The user can now maximize this window on a second monitor or use a designated shortcut (traditionally Command + = on Mac) to toggle between the arrangement and the mixing console.
“A DAW’s interface should be invisible to the engineer. By forcing Reaper to adopt the visual and mechanical layout of an established standard, producers remove the cognitive load of learning new software, allowing immediate creative output.” — Dr. Audio Engineering, Journal of Digital Production.
Reaper vs. Pro Tools: Why Make the Switch?
Many audio professionals eventually ask themselves if learning how to make Reaper look like Pro Tools is worth the effort compared to simply paying the subscription. When analyzing the technical parameters, the customized setup offers significant advantages.
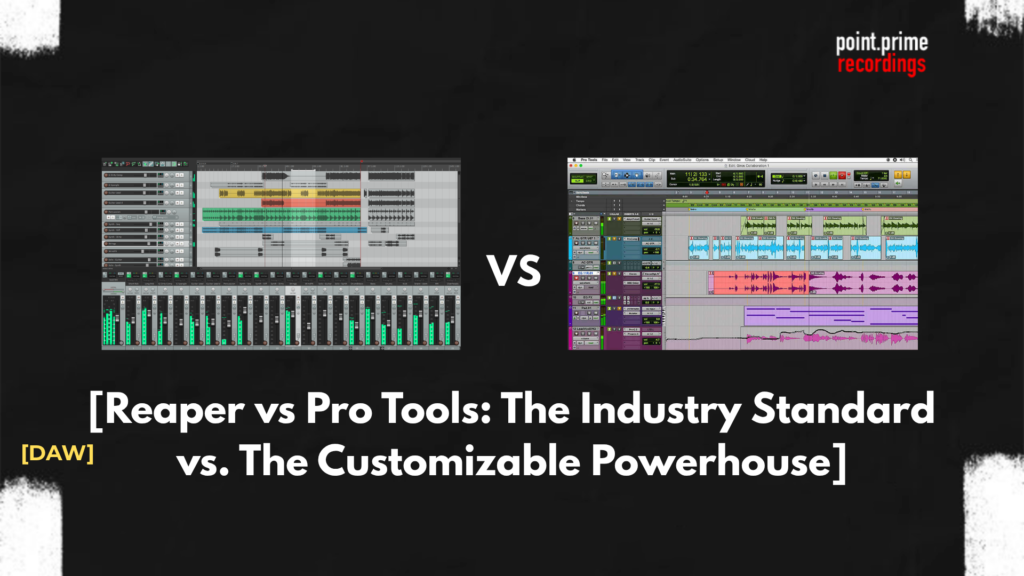
The following table breaks down the core differences. For a deeper analysis of these two specific programs, producers can review this comprehensive Reaper vs Pro Tools breakdown.
| Feature Category | Default Pro Tools | Customized Reaper |
| Pricing Model | Expensive monthly/yearly subscription | One-time $60 discounted license |
| CPU Efficiency | Historically resource-heavy | Extremely lightweight architecture |
| Customizability | Locked graphical user interface | Fully modular via .ReaperThemeZip |
| DRM Protection | Requires iLok (Hardware or Cloud) | No intrusive DRM or dongles required |
| Startup Time | Slow (loads complex proprietary engines) | Nearly instantaneous |
Furthermore, the keyboard shortcut customization in Reaper is so powerful that it can mimic any software on the market. If a producer is coming from Steinberg or Apple ecosystems, similar modifications exist. Engineers can explore a Cubase vs Reaper comparison or a Reaper vs Logic Pro analysis to understand how easily Reaper adapts to different operational philosophies.
Below is a secondary table demonstrating how crucial muscle memory is preserved during this transition via the imported keymap:
| Editing Action | Default Reaper Shortcut | Imported Pro Tools Shortcut |
| Split / Separate Clip | S | B (or Ctrl/Cmd + E) |
| Zoom In | Up Arrow | T |
| Zoom Out | Down Arrow | R |
| Fade In to Cursor | (Requires custom action) | D |
| Fade Out from Cursor | (Requires custom action) | G |
Conclusion
By leveraging open-source themes and customized keyboard mappings, any audio engineer can transform a lightweight, affordable DAW into a precise replica of an expensive, industry-standard recording environment. Understanding how to make Reaper look like Pro Tools empowers independent musicians to maintain their professional workflow, protect their muscle memory, and avoid costly software subscriptions without sacrificing a single mixing or editing feature.
FAQ
Yes, it is entirely legal. The customized themes are created from scratch by passionate community members and do not contain any stolen, proprietary source code from Avid. They are simply graphical overlays utilizing Reaper’s native customization engine.
No. Modifying the DAW’s main graphical user interface has absolutely no impact on third-party Virtual Studio Technology (VST) or Audio Unit (AU) plugins. Equalizers, compressors, and virtual instruments will retain their original, intended designs.
If the producer wishes to revert to the factory appearance, the process takes only a few seconds. Simply navigate to the top menu bar, select Options, hover over the Themes dropdown, and click on Default. The interface will instantly revert without requiring an application restart.