How to Make Reaper Look Like Logic Pro (Full Theme Guide)

Introduction
Transitioning between different Digital Audio Workstations (DAWs) often disrupts a producer’s workflow due to jarring visual changes and unfamiliar interface layouts. For producers moving from macOS to Windows, leaving behind the sleek, minimal Apple aesthetic can be a frustrating experience. Fortunately, Cockos Reaper features an open-source, highly customizable graphical engine. Reaper’s flexibility is unmatched.
Just as audio engineers can easily make Reaper look like Pro Tools for traditional studio sessions, electronic producers can replicate the Apple ecosystem to maintain their preferred visual workflow. This guide explains how to install a Logic Pro skin for Reaper, adjust the interface layout, and import matching keyboard shortcuts.
Key Takeaways of the Article
- Reaper’s GUI is entirely customizable via user-created .ReaperThemeZip files.
- Installing a Reaper Logic Pro theme requires no complex coding; it utilizes a simple drag-and-drop mechanism.
- Replicating the Apple workflow requires moving the Reaper mixer panel to the left side of the screen to mimic the Track Inspector.
- Familiar workflow is maintained by importing custom action lists (.ReaperKeyMap) that overwrite default shortcuts.
Quick Answer
To learn how to make Reaper look like Logic Pro, users must download a custom interface file, such as the iLogic theme Reaper users frequently recommend. Simply drag and drop the extracted .ReaperThemeZip file into the active DAW workspace, dock the Track Inspector to the left side of the screen, and import a Logic Pro .ReaperKeyMap file to configure familiar Apple keyboard shortcuts.
Why Switch to a Logic Pro Theme in Reaper?
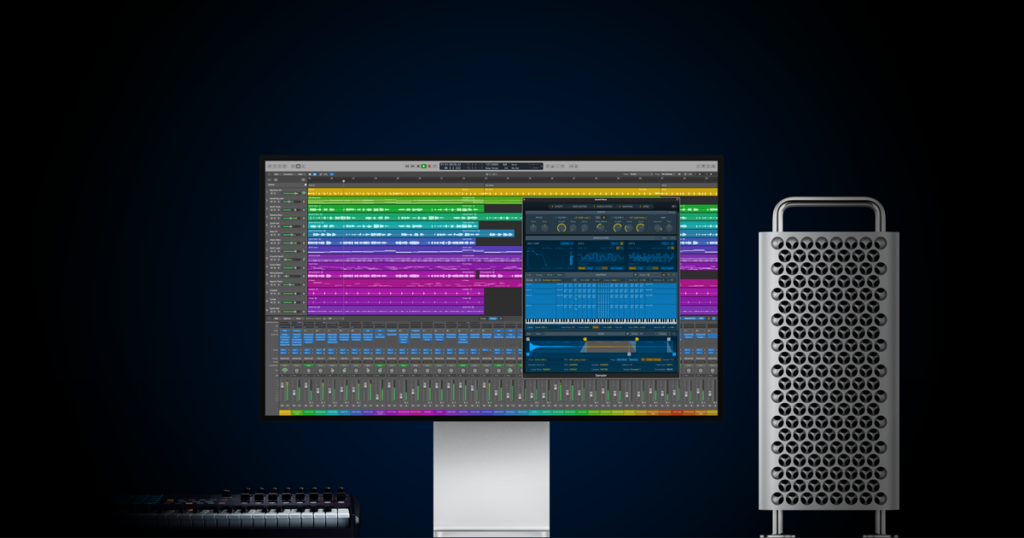
Logic Pro is widely celebrated for its clean, modern, and dark interface, which is designed to reduce eye strain during extended mixing sessions. Out of the box, Reaper defaults to a utilitarian, gray aesthetic that many producers find visually uninspiring. By applying a Reaper Mac theme, producers gain the aesthetic comfort of an Apple environment while retaining Reaper’s superior CPU efficiency, deep routing capabilities, and cross-platform compatibility. If you are still on the fence about permanently migrating your workflow, read our full Reaper vs Logic Pro comparison before changing your themes.
Step 1: Download the Best Logic Pro Theme (iLogic)
To begin the transformation, users must download a third-party theme. The Reaper Stash (the official community repository) and the Cockos forums host several modifications, but the absolute industry standard for this specific conversion is the iLogic theme Reaper modification created by the user Blankfile.
Before downloading, consult this table comparing the most popular Mac-style themes available for Reaper:
| Theme Name | Primary Aesthetic focus | CPU Overhead | Best For |
| iLogic (Blankfile) | 1:1 Logic Pro X visual replication. | Very Low | Producers wanting the exact Apple ecosystem experience. |
| Smooth 6 | Modern, dark, flat Mac design. | Low | Users who want a clean layout inspired by Apple, but not a direct clone. |
| Concerto | Orchestral, cinematic Logic vibe. | Medium | Film composers using high track counts and massive MIDI data. |
Navigate to the Cockos forum or the Reaper Stash, search for the latest version of the iLogic theme, and download the .zip archive to your local storage.
Step 2: Installing and Activating the Theme
Reaper handles theme installation efficiently without requiring users to navigate complex system directories.
- Extract the downloaded .zip file. Locate the file ending in the .ReaperThemeZip extension.
- Launch Reaper and open a blank project.
- Click and drag the .ReaperThemeZip file directly from your file browser into the main Reaper arrangement window.
- Reaper will briefly pause and instantly apply the new visual assets, changing the transport bar, track headers, and mixer panels to reflect the new design.
To switch back to the default interface at any time, navigate to the top menu bar and select Options -> Themes -> Default.
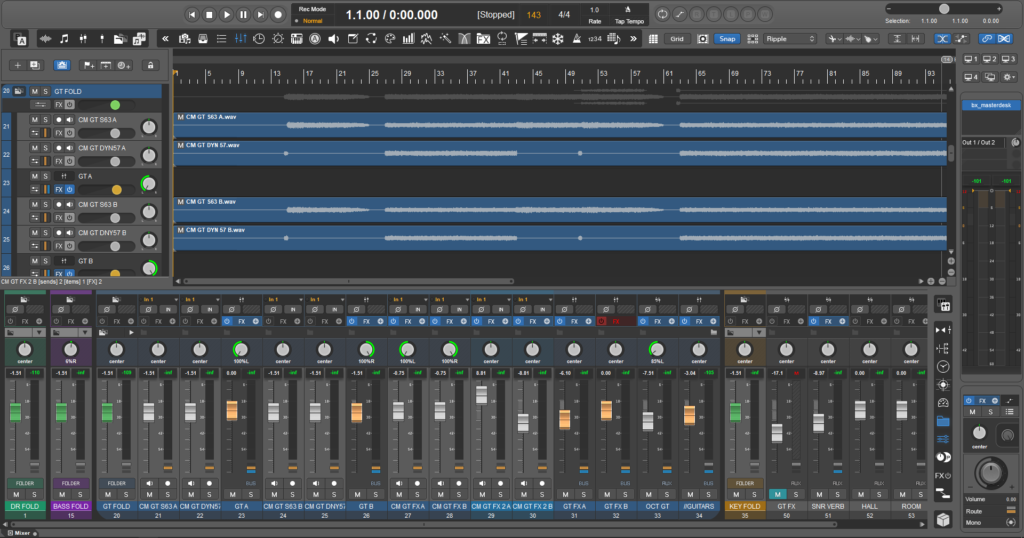
Step 3: Recreating the Logic Pro Layout (Docking the Inspector)
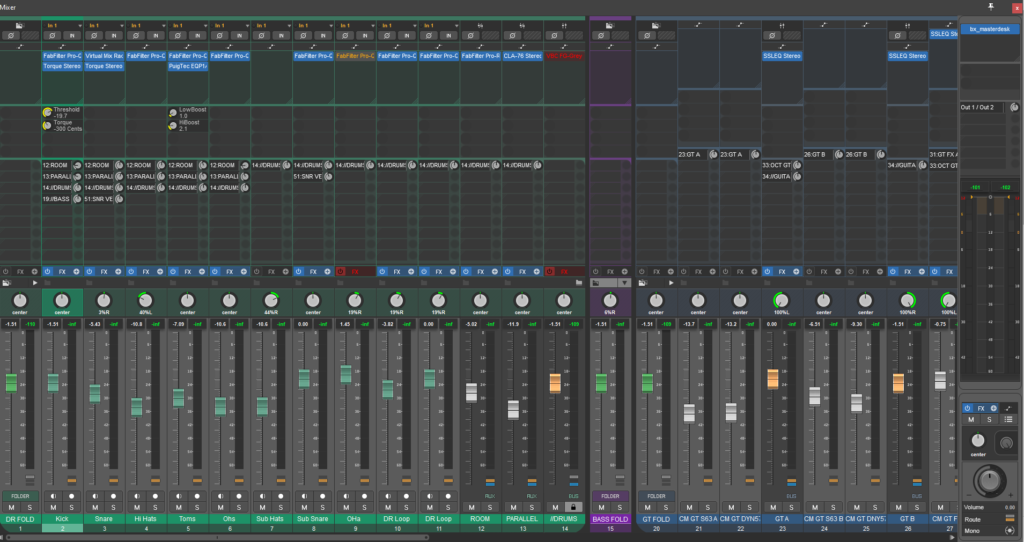
Applying a Logic Pro skin for Reaper only changes the colors and icons. To truly learn how to make Reaper look like Logic Pro, the physical layout of the windows must be adjusted. Logic relies heavily on a left-aligned Track Inspector, whereas Reaper defaults to a bottom-aligned Mixer.
To dock the inspector:
- Open the Mixer window by pressing Cmd+M (Mac) or Ctrl+M (Windows). Alternatively, navigate to View -> Mixer.
- Hover your cursor over the empty gray space near the Master Fader tab within the Mixer window.
- Right-click and select Dock mixer in docker.
- Click and drag the docked Mixer tab to the far left side of the main Reaper window until a blue highlight line appears vertically. Drop the panel.
- Right-click the Mixer space again and ensure Show multiple rows of tracks when size permits are unchecked.
- Navigate to View -> Track Manager and hide all tracks in the mixer except for the currently selected one.
Now, when a track is clicked in the arrangement view, its specific fader and insert slots will dynamically appear on the left sidebar.
Step 4: Importing Logic Pro Keyboard Shortcuts (Keymaps)
Visual familiarity is useless without muscle memory. To complete the transition, you must remap Reaper’s default shortcuts to match Apple’s ecosystem.
- Download a Logic Pro custom KeyMap from the Reaper Stash. Ensure the file ends with .ReaperKeyMap.
- In Reaper, navigate to Actions -> Show action list…
- At the bottom of the Action List window, click the Key map… button.
- Select Import shortcut binding… from the dropdown menu.
- Locate your downloaded .ReaperKeyMap file and confirm.
Your spacebar, record toggles (R), and piano roll commands (P) will now mirror the traditional Mac layout perfectly.
Logic Pro vs. Reaper UI (Quick Conversion Guide)
Even with the Reaper Logic Pro theme applied, Cockos uses different terminology for its interface panels. Use this quick reference matrix to navigate the newly reskinned DAW.
| Logic Pro Element | Reaper Equivalent | How to Access in Reaper |
| Inspector (Left Sidebar) | Docked Track Mixer | Right-click Mixer tab -> Dock left. |
| Piano Roll (P) | MIDI Editor | Double-click MIDI item (or Action List). |
| Environment Window | Track Routing Matrix | View -> Routing Matrix (Alt+R). |
| Automation Lanes (A) | Envelope Lanes (V) | Select track, press V for Volume Envelope. |
| Apple Loops Browser (O) | Media Explorer | View -> Media Explorer (Ctrl+Alt+X). |
Conclusion
Migrating between digital audio workstations does not mean sacrificing the visual environment that inspires your best productions. By utilizing community-driven assets like the iLogic theme, custom window docking, and imported .ReaperKeyMap files, producers can successfully make Reaper look like Logic Pro in under ten minutes. This transformation grants beatmakers and audio engineers the exact aesthetic they prefer, combined with the unparalleled stability and routing freedom that Cockos Reaper provides.
FAQ
Yes. Reaper’s graphical engine is universally cross-platform. A .ReaperThemeZip file designed to look like a Mac application will install and function perfectly on a Windows PC without any additional coding or conversion.
No. Reaper’s graphical interface is incredibly lightweight. Custom themes merely replace the default PNG image assets and color values. Running a highly detailed Logic Pro skin for Reaper will not introduce latency, increase audio buffer dropouts, or heavily tax your CPU during dense mixing sessions.
Most high-quality theme developers consistently update their files on the Reaper forums to match new software iterations. Simply download the updated .ReaperThemeZip and drag it into the DAW to overwrite the old version.